College students, this one is for you! And for anyone else who finds themselves improvising a bit when it comes to cooking without a traditional kitchen (e.g., the office). I’m going to show you How to Make Pizza on the Panini Press! This is gonna rock your world.
I love that kids are bringing panini presses to college these days. It makes perfect sense – they’re compact, versatile and relatively affordable. I have so many fond memories of cooking with my dorm mates, with whatever random small kitchen appliance someone had in their room. It always seemed to turn into a party for the whole hall!
Ready to learn how to make your own homemade rustic pizzas right in a dorm room (or cubicle!) on a panini press? Here we go!
 (NOTE: Please be safe! And only try this in a dorm or office if it’s allowed. :-))
Set your panini press on a flat, stable surface like a table, counter or desk, near the electrical outlet (no extension cords) and away from paper or other flammables. If your press comes with a tilt feature, make sure it is in the flat position, then it heat it up to high.
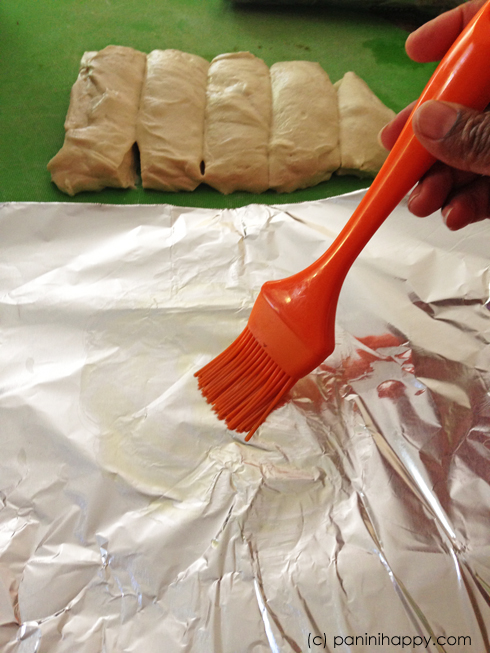
Brush olive oil on a small piece of aluminum foil, in about a 6-inch diameter circle (alternatively, you can spray the foil with cooking spray). The foil will make it easier to transfer your pizza on and off the grill and the oil will keep the crust from sticking.
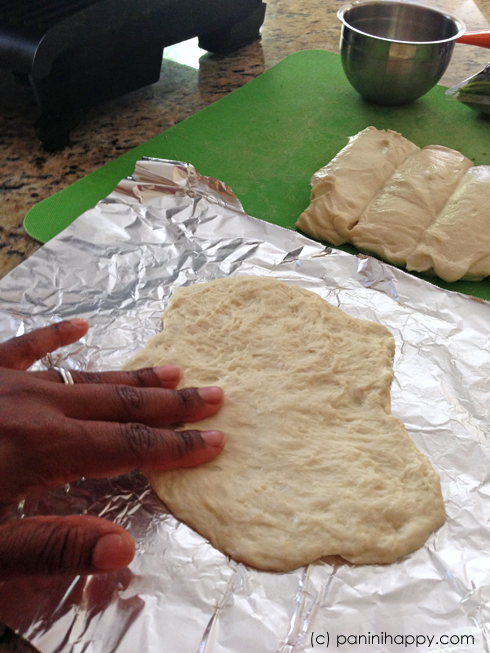
Take a pound of fresh pizza dough (Trader Joe’s and other grocery stores sell it in the refrigerated section, it’s only $1-$2) and divide it into 6 portions. For each pizza, stretch out a portion of dough into a shape resembling a circle (despite the photo, I actually used two hands to do the stretching – I needed one hand to hold the camera and snap a pic, though!). The dough will have a lot of elasticity to it, you want to stretch it, wait a minute or two, and stretch some more. Thinner is better in order to ensure the crust cooks thoroughly.
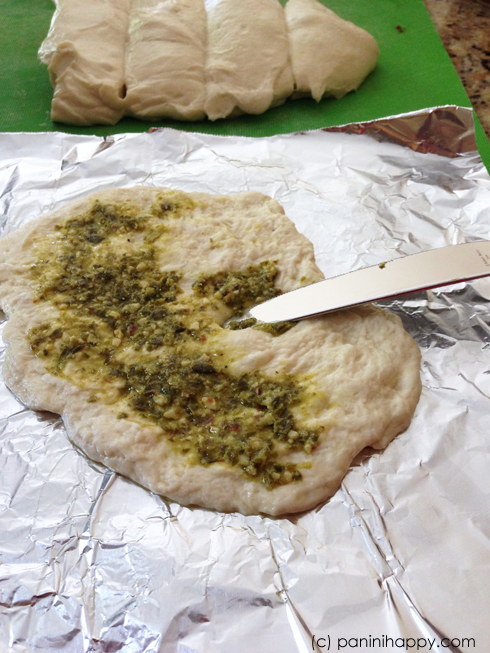
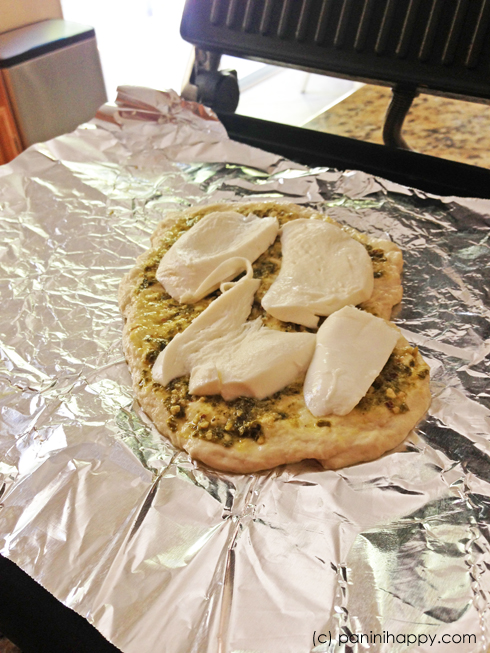
Next, add your sauce. I found that pesto (basil or sundried tomato are good options) works much better than tomato sauce. The tomato sauce was more watery, which led to steam, which led to a somewhat gummy crust. My recommendation: stick with pesto.
Now that we’re on to cheese and toppings, you can start to take a few liberties. Go with what you like. If I were in college, I’d be looking pretty hard at the dining hall salad bar for toppings options! I’d recommend sturdier ingredients that can withstand being within an inch of a super-hot heat source without burning, and maybe steering away from fresh tomatoes and other watery fruits and vegetables that might create a lot of steam.
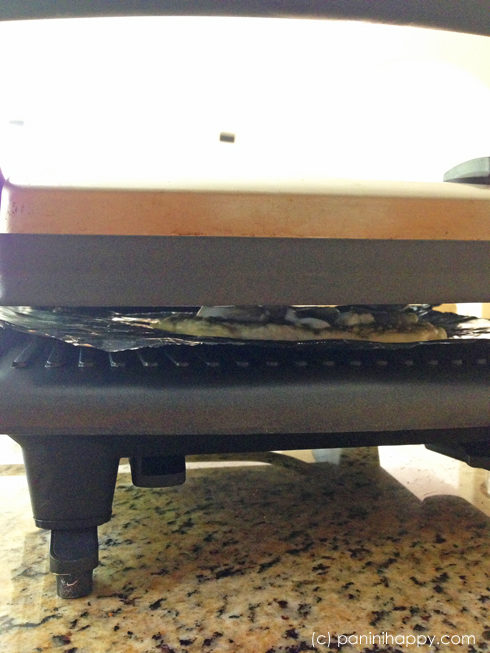
Carefully transfer your pizza to the hot grill (see, that foil is helpful!), and close the lid most of the way…
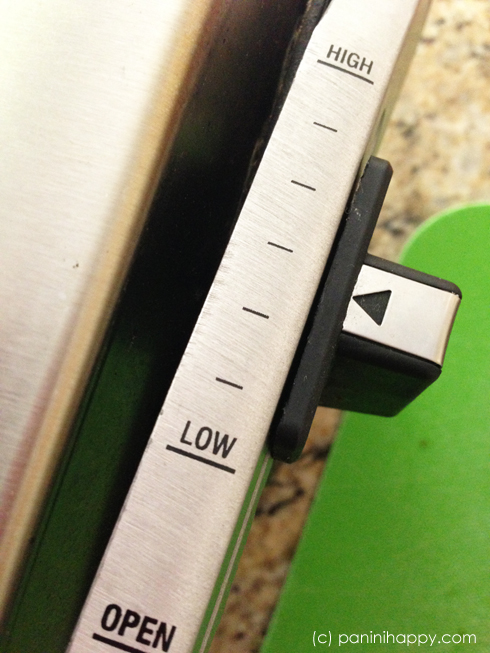
Ideally, you’ll want to use a panini press (such as the Breville Panini Press) that allows you to fix the height of the upper plate so that it can hover above the pizza while it cooks. If your press doesn’t have that feature, a reader once suggested to me that he successfully propped his press open with some balled-up aluminum foil. That sounds like a viable workaround to me, although I haven’t actually tried it yet.
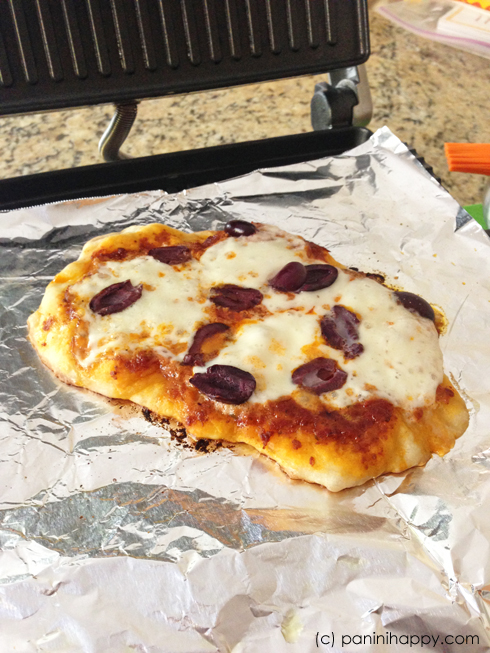
In 6 to 8 minutes, you’ll have a hot, bubbling, homemade pizza – ready to slice! And – if you’re in a dorm or office – probably a crowd of lookie-loos, eager for a taste. 🙂
Ready for hundreds more panini press cooking ideas? My new cookbook, The Ultimate Panini Press Cookbook, is available for pre-order now on Amazon (in stores 9/10/13).
[print_this]
Pizza on the Panini Press
By Kathy Strahs, PaniniHappy.com
Prep time: 10 minutes | Cook time: 8 minutes | Total time: 18 minutes (per pizza)
Yield: 6 individual pizzas
INGREDIENTS:
- 2 tablespoons extra virgin olive oil OR cooking spray
- 1 pound fresh pizza dough, divided into 6 portions
- 1/3 cup basil pesto or sundried tomato pesto
- 12 ounces shredded part-skim mozzarella OR sliced fresh mozzarella
- Toppings of your choice
DIRECTIONS:
- Heat the panini press to high heat. If your panini press comes with a tilt option, be sure it is set to flat.
- Preparing one pizza at a time, tear off a sheet of aluminum foil about the same size of your press. Brush olive oil (or spray cooking spray) onto the surface, in about a 6-inch diameter area.
- Stretch a portion of dough into a (somewhat) circular shape. The dough will be very elastic – stretch it, wait a few minutes, then stretch it some more. Thinner is better to ensure it cooks thoroughly.
- Spread a few tablespoons of pesto on the stretched dough. Add your cheese and toppings (see tips for choosing toppings in the post above).
- Transfer the aluminum foil to the panini press. Close the lid, allowing the upper grate to hover about 1 inch above the pizza (if you don’t have a panini maker that allows for a fixed height, you might try creating your own 1-inch spacers by balling up some aluminum foil).
- Grill the pizza until the dough is cooked through and lightly browned (it may bubble up a bit too) and the cheese is melted and bubbly, 6 to 8 minutes. Slice and serve immediately.
[/print_this]
 Panini Happy, online since 2008, is more than just a sandwich blog. Here, you'll find hundreds of my original

I am so excited to try this! Sounds like a great way to do make your own pizza night with friends or to make a quick dinner with leftovers. I always have bits of cheese and sausage that I have no idea what to do with and end up throwing away!
Exactly! Make-your-own pizza night is so much fun – even my little kids love it. 🙂
aweeeeeesome! I want try this with crescent dough. I’m so excited! Hubby likes EVERYTHING on a pizza, I’m a meat and cheese person myself. Individual pizzas WOOT! you are awesome 🙂 smooches!
What a great idea! My mom has an electric press and likes to use it so she doesn’t have to heat up the big oven — I’ll have to share it with her 🙂
Nice tip on using the panini press. I love my press, but I don’t have the one which adjusts in height, so I might have to figure out a way…Love the pizzas…
My boys love pizza and this would be a great change up for them! They look so delicious 🙂
Why have I never thought of that!? My mom actually got rid of our press though. >o<
Great idea, Kathy! Looks delicious!
This looks spectacular, Kathy! So, so pumped to get my hands on your beautiful cookbook 🙂
Oh wow! This pizza looks incredible, I love it 🙂
I love my Panini maker too! I am so happy to have found your site on Rachel Cooks!
Thanks so much, Bree!
Ms. Strahs:
Awesome!!! Your blog is inspiring me to begin using my Breville Panini Maker again.
Can’t wait to try the pizza!~!!!
Foxie
We made pita pizzas by putting parchment paper (or waxed paper) on top of the cheese and then closing the press as usual. This way it doesn’t have a chance to stick to the top and you don’t have to worry about closing it too much. Turned out great!
Great idea! ~Kathy
How about pre-cooking the base for a couple of minutes to give us a more solid crust to work with? That way you could maybe avoid “gummy” crust especially if you want to use tomato sauce, as the sauce doesn’t soak into the base too much and less steam exposure.